How to save data to a spreadsheet with Dialogflow
In this article I’ll try to explain the easiest way to work with Google Spreadsheets using Dialogflow. Let's take a pizzeria as an example. We will make a chat to order pizza - new orders will be saved in a spreadsheet.
Let’s create an intent first. I called it “Order a pizza”, I also like to use the Small Talk plugin for every project - to enable it go to Small Talk and hit enable. Add an entity “Menu”.

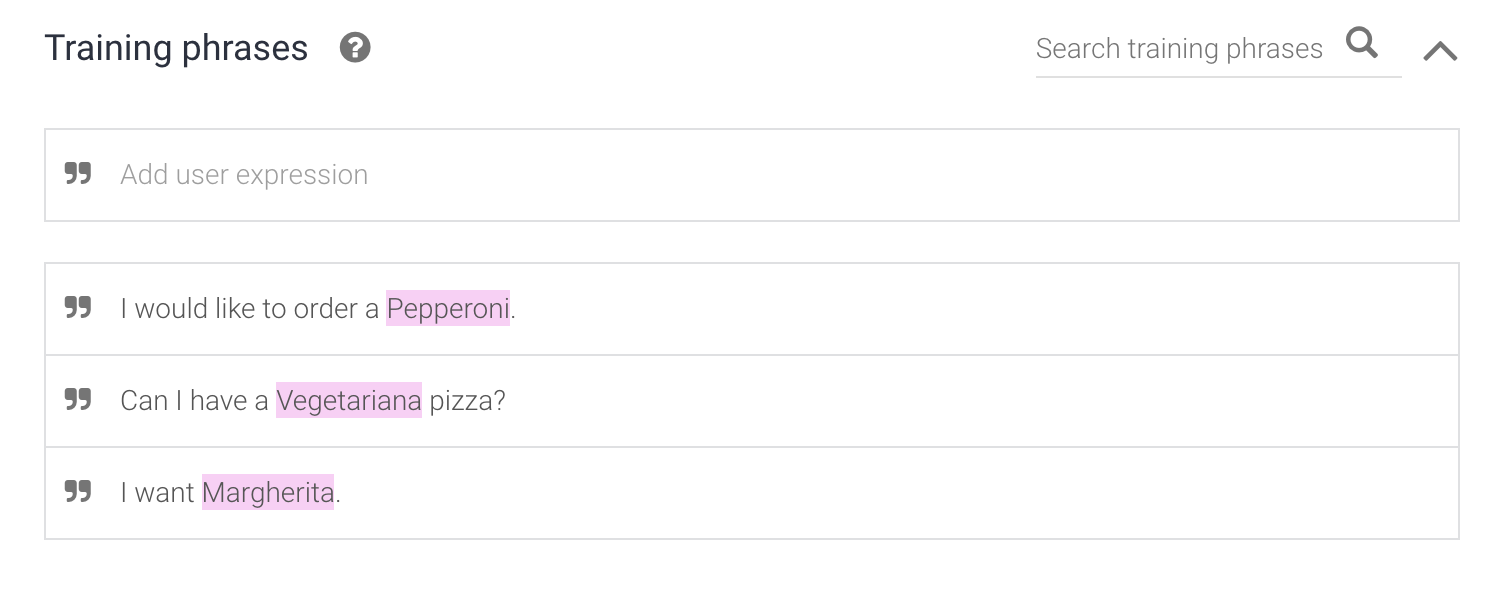
Add some training phrases.
After that enable webhook call and go to the Fulfillment tab. Enable Inline Editor and use the code below:
// See https://github.com/dialogflow/dialogflow-fulfillment-nodejs
// for Dialogflow fulfillment library docs, samples, and to report issues
'use strict';

const axios = require('axios');

const functions = require('firebase-functions');
const {WebhookClient} = require('dialogflow-fulfillment');
const {Card, Suggestion} = require('dialogflow-fulfillment');

process.env.DEBUG = 'dialogflow:debug'; // enables lib debugging statements

exports.dialogflowFirebaseFulfillment = functions.https.onRequest((request, response) => {
  const agent = new WebhookClient({ request, response });
  console.log('Dialogflow Request headers: ' + JSON.stringify(request.headers));
  console.log('Dialogflow Request body: ' + JSON.stringify(request.body));

  function welcome(agent) {
    agent.add(`Welcome to my agent!`);
  }

  function fallback(agent) {
    agent.add(`I didn't understand`);
    agent.add(`I'm sorry, can you try again?`);
  }

  function saveOrder(agent) {
    const pizza = agent.parameters.Menu;

    axios.post('https://sheetdb.io/api/v1/YOUR_API_ID',{
        "data": {"name": pizza, "created_at": Date.now()}
    }).then( response => {
      console.log(response.data);
    });

    agent.add(`Okay, your ` + pizza + ` will be ready in 45 minutes. `);
  }

  // Run the proper function handler based on the matched Dialogflow intent name
  let intentMap = new Map();
  intentMap.set('Default Welcome Intent', welcome);
  intentMap.set('Default Fallback Intent', fallback);
  intentMap.set('Order a pizza', saveOrder);
  agent.handleRequest(intentMap);
});
Important part is intentMap.set('Order a pizza', saveOrder); - "Order a pizza" must be the same as the name of your intent. "saveOrder" is the name of function that will handle the intent. We use axios in this example, to make it possible add axios into your package.json dependencies and import at the top const axios = require('axios');.
{
  "name": "dialogflowFirebaseFulfillment",
  "description": "This is the default fulfillment for a Dialogflow agents using Cloud Functions for Firebase",
  "version": "0.0.1",
  "private": true,
  "license": "Apache Version 2.0",
  "author": "Google Inc.",
  "engines": {
    "node": "8"
  },
  "scripts": {
    "start": "firebase serve --only functions:dialogflowFirebaseFulfillment",
    "deploy": "firebase deploy --only functions:dialogflowFirebaseFulfillment"
  },
  "dependencies": {
    "actions-on-google": "^2.2.0",
    "firebase-admin": "^5.13.1",
    "firebase-functions": "^2.0.2",
    "dialogflow": "^0.6.0",
    "dialogflow-fulfillment": "^0.5.0",
    "axios": "0.19.2"
  }
}
This is very simple example. You can add address of order, allow to order several pizzas, sum up prices etc. Check this series to learn more about Dialogflow:
Have question?
If you have any questions feel free to ask us via chat or .